Most probably, your DirectX version is not compatible with the app.
DirectX 12 is required to play R.Design app.
Click the link below to start the download the zip file.

Once the ZIP file has been downloaded, first unzip the file.
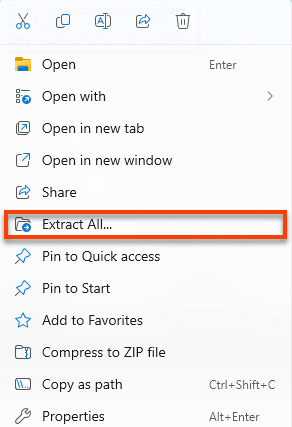
Right-click on the ZIP file and select "Extract All".
First, in "User Account Control", the following message will appear.
Click "Yes", and go next.
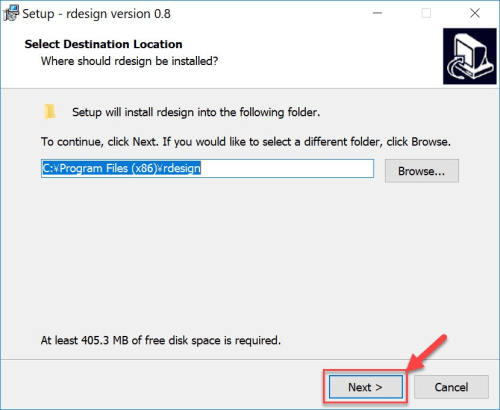
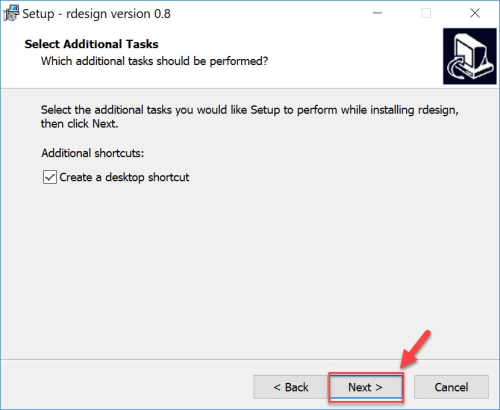
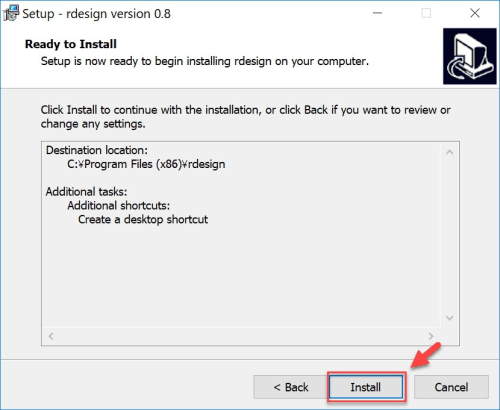
Click the button to proceed to the next step as shown in each screenshot below.
Visual C++
Microsoft Direct X and Visual C++ are required to be installed in your PC to run the R.Design app.
If you have already installed Windows (excluding Windows XP and earlier versions) to your PC, Direct X is included in Windows, so you don't need to install a new one.
If DirectX is not installed on your PC, an installation window will appear. Place insert "✔" in the box to accept the license terms and conditions, and click “Install”.
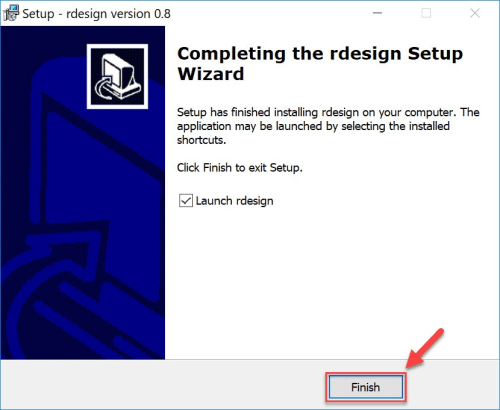
Finally, click "Finish" to complete.
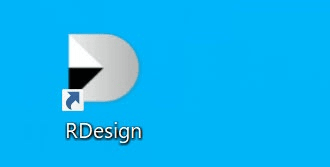
Click the App icon, and open the App.
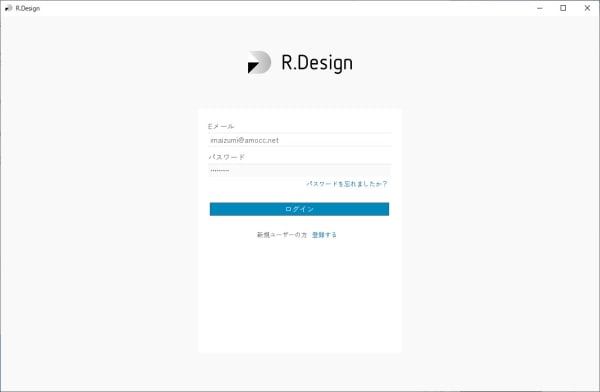
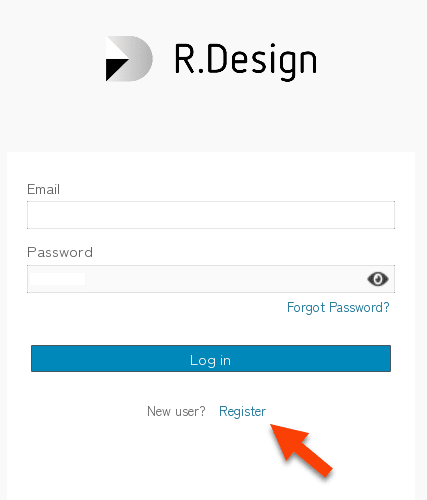
A verification email will be sent to your registered email address. Please verify your email address before you login to the App.
After you log in, the app will open after the following steps occur:
- Download base assets
- Download catalog
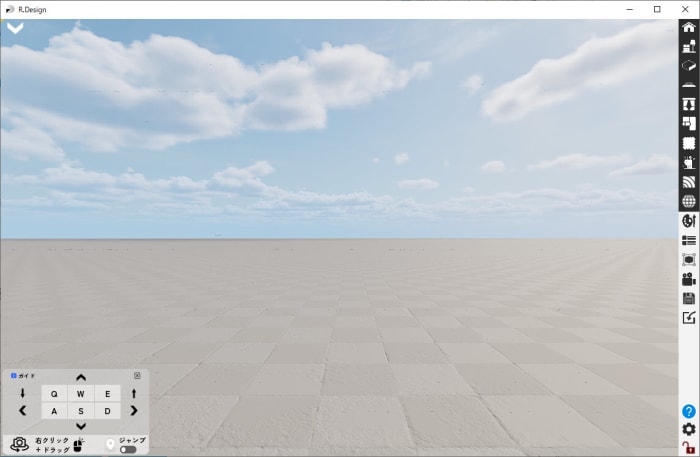
Please refer to the page below to configure the appropriate graphics for your PC.
As from the App version released at June 2024, the Presentation Mode has become the default User Interface.
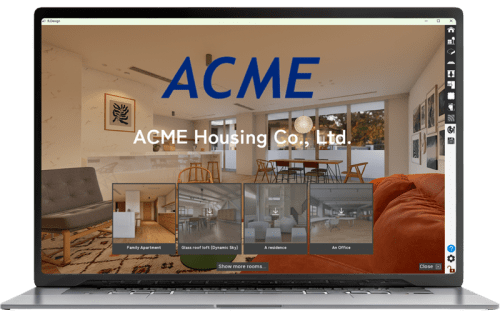
For details, please visit the below page.