3ds Max to R.Design
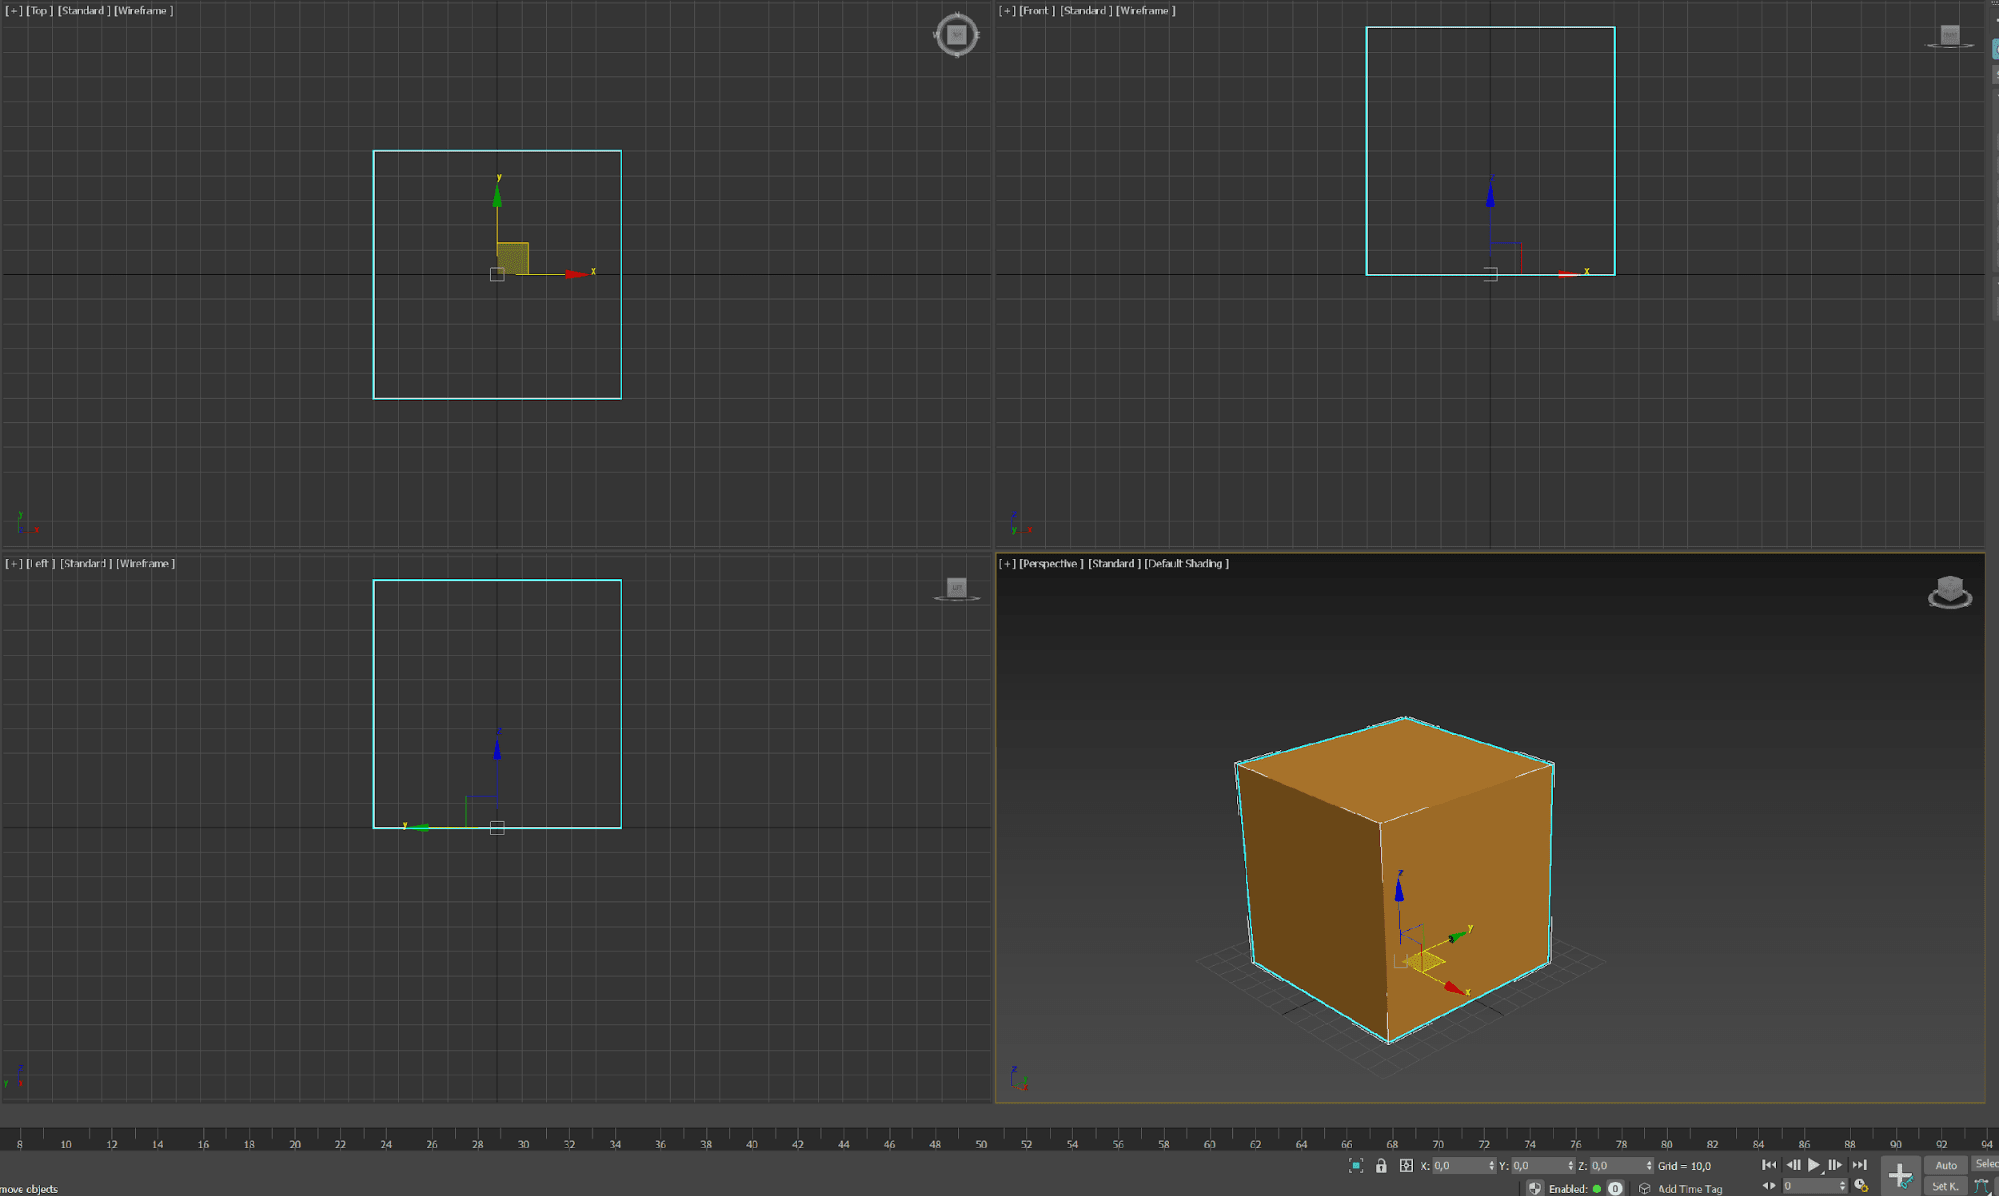
- Create your model with a scale of 1.00
-Make sure your model is centered around (0,0,0)
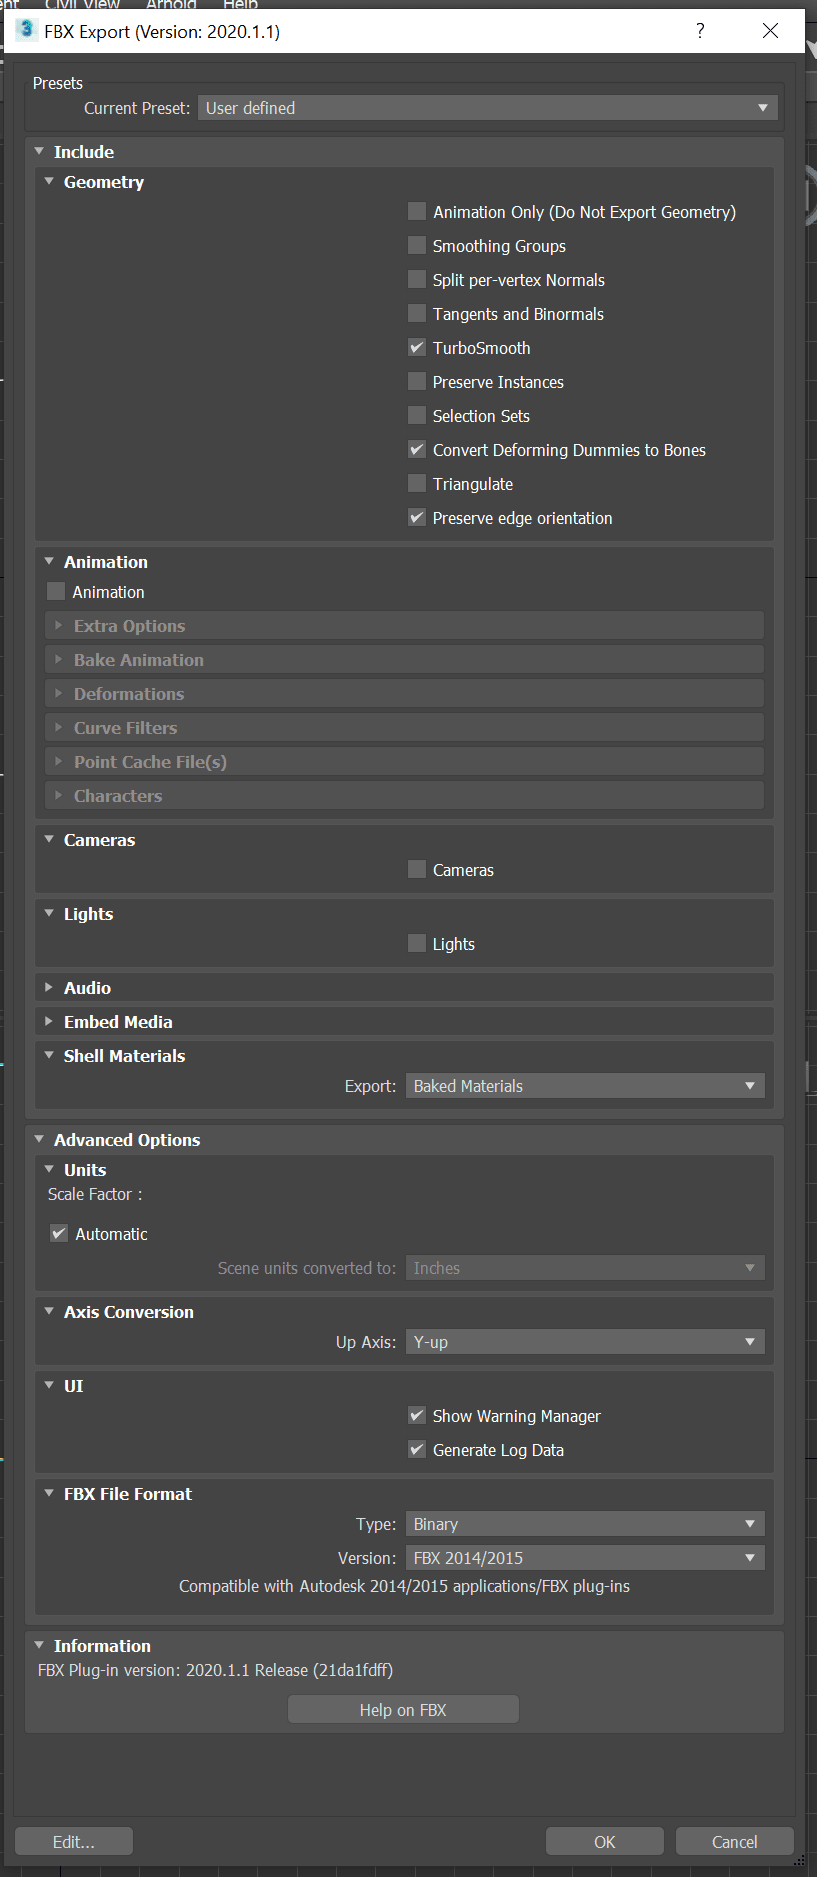
- Select the object you want to export, then click File -> Export -> Export Selected -> Autodesk (*.fbx)
- In the export settings, set the fields to the following:
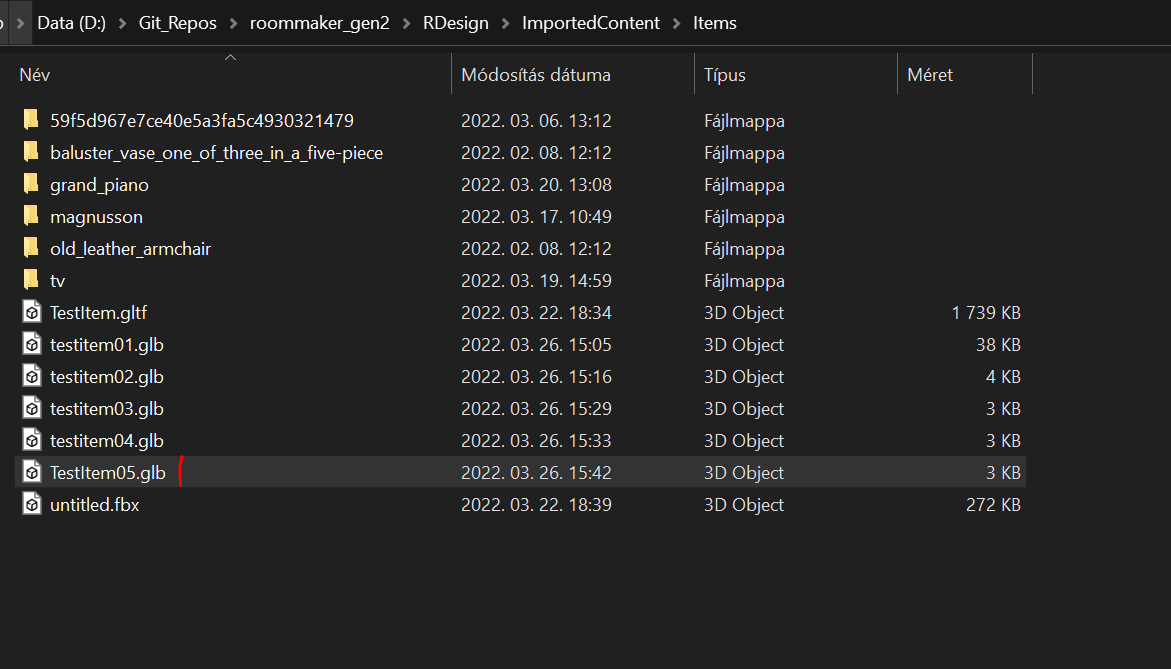
-Find the exported file and upload it to https://modelconverter.com/convert.html to convert your fbx file to glTF / glb file.
-Place the converted and downloaded file inside the ImportedContent/Items or ImportedContent/Levels folder, depending on the purpose of your model.
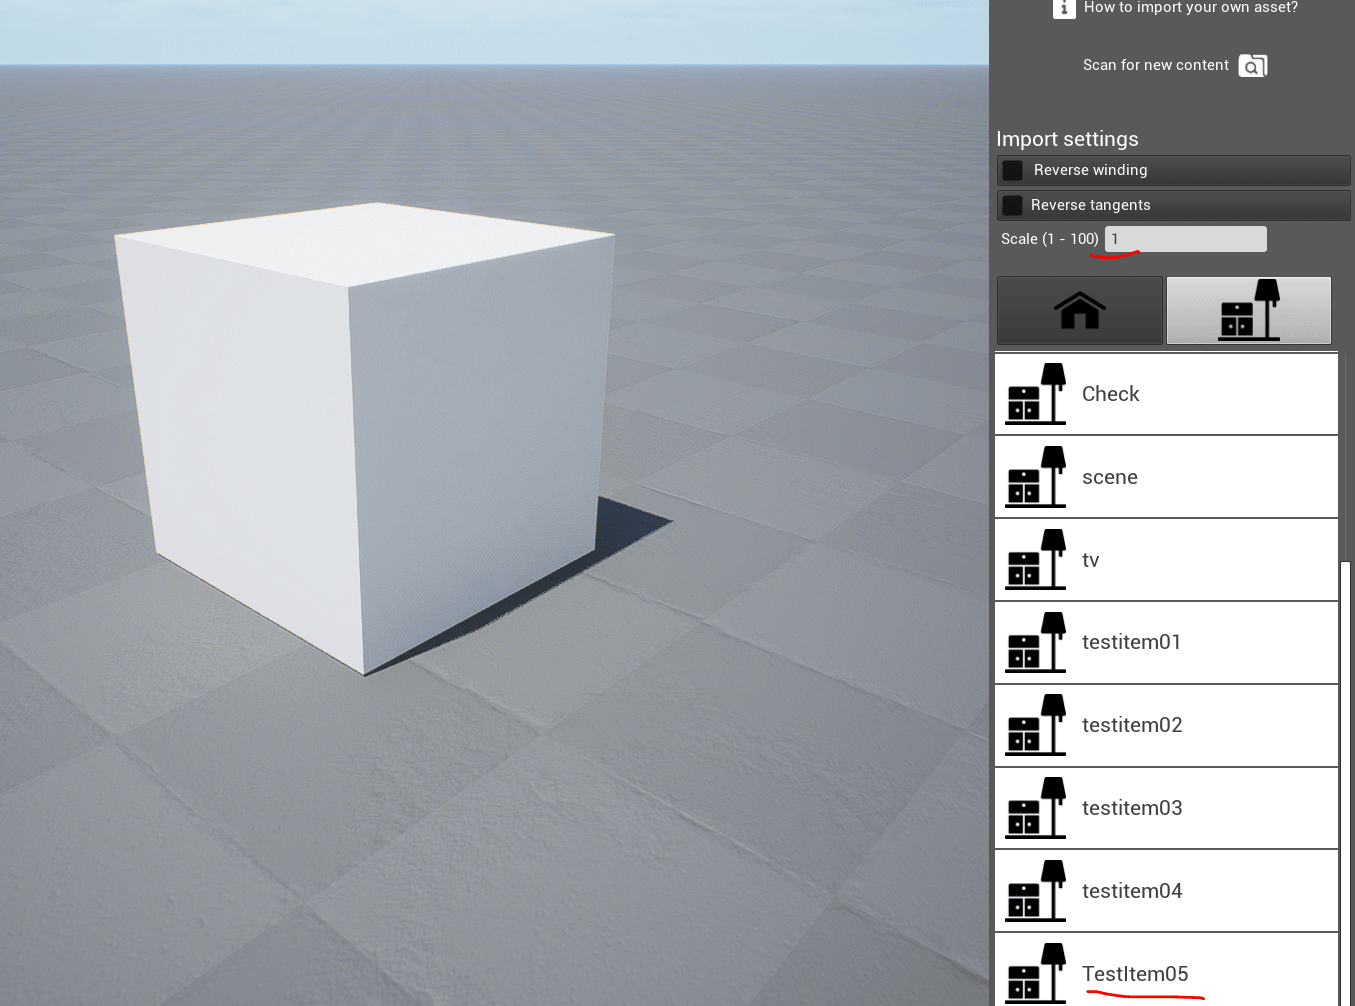
- After opening the application or clicking „Scan for new content”, you should see your model in the list of items:
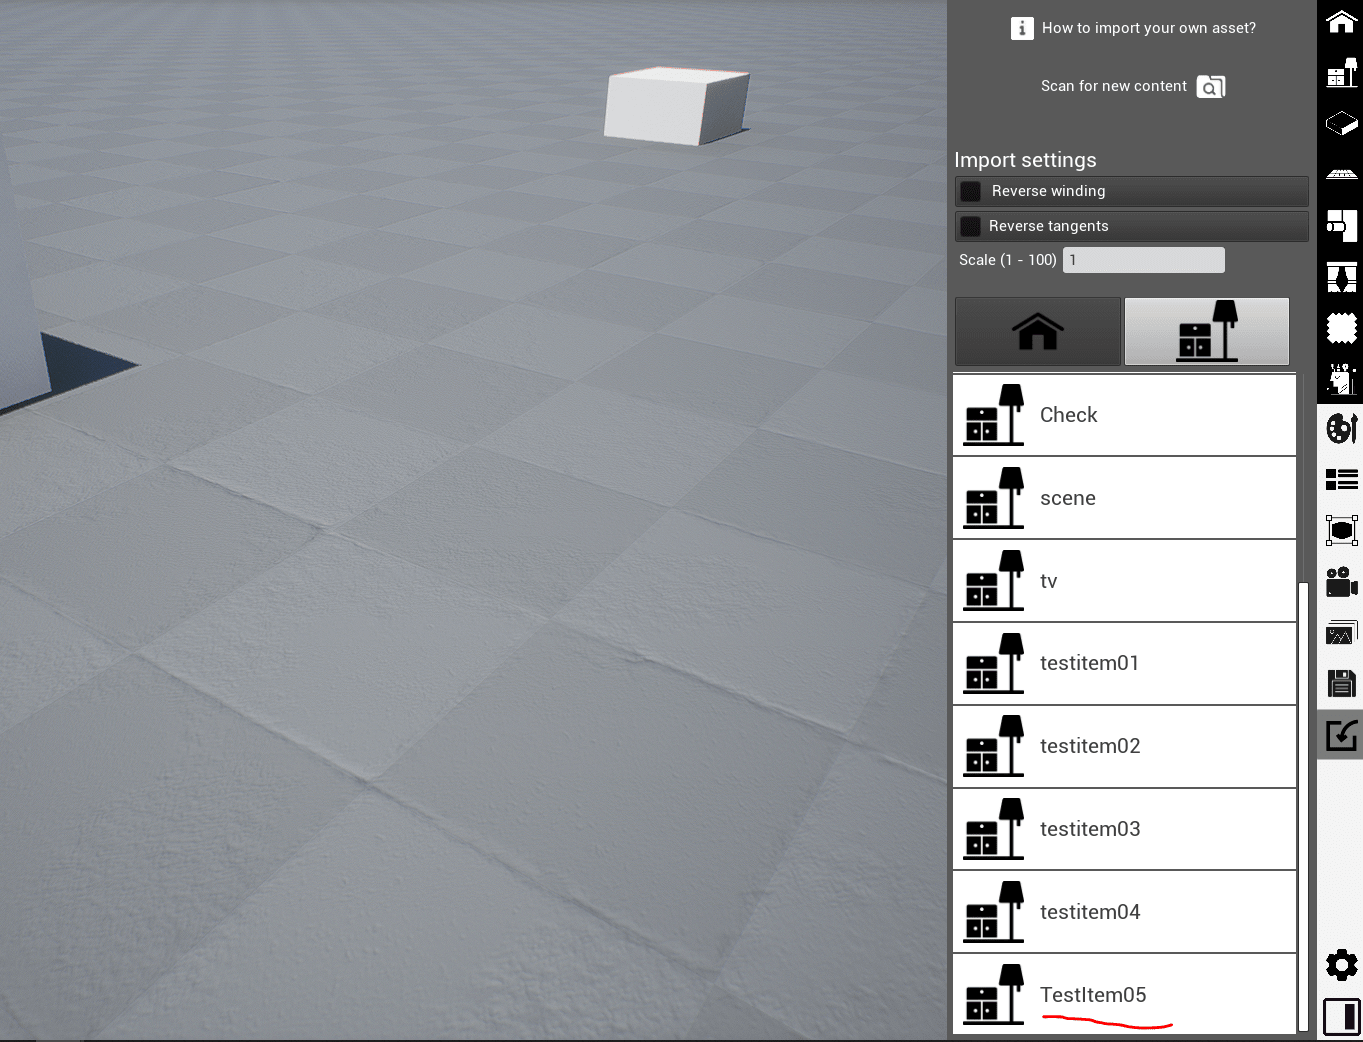
- Set the import scale to 1. After dragging the item, it will show up in the scene: